Digital Denture Masterclass: Perfect Dentures In 3 Steps. In Collaboration With Jimmy Stegall
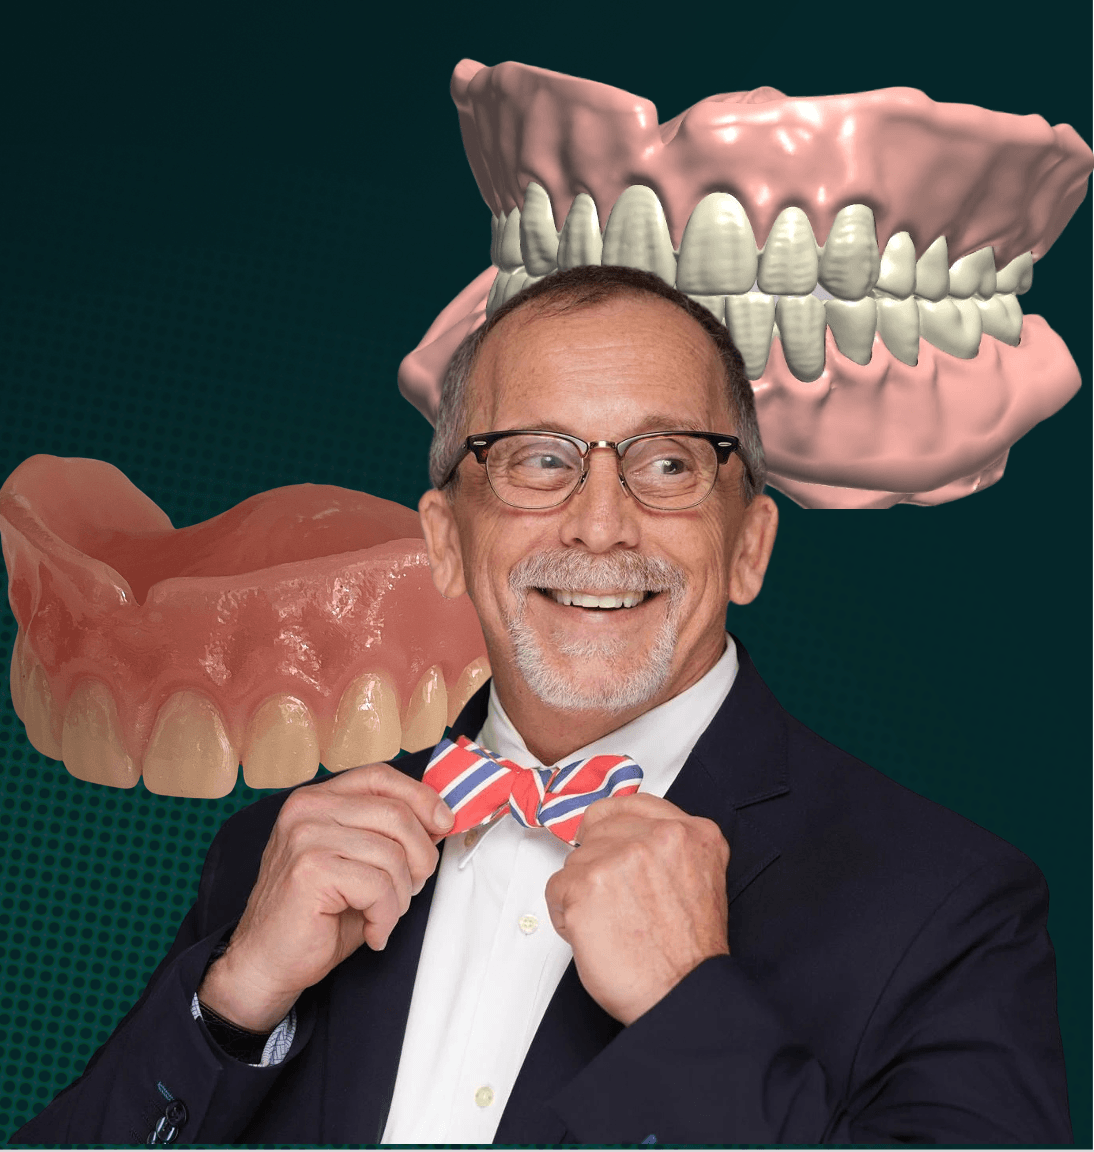
Who Is Jimmy Stegall?
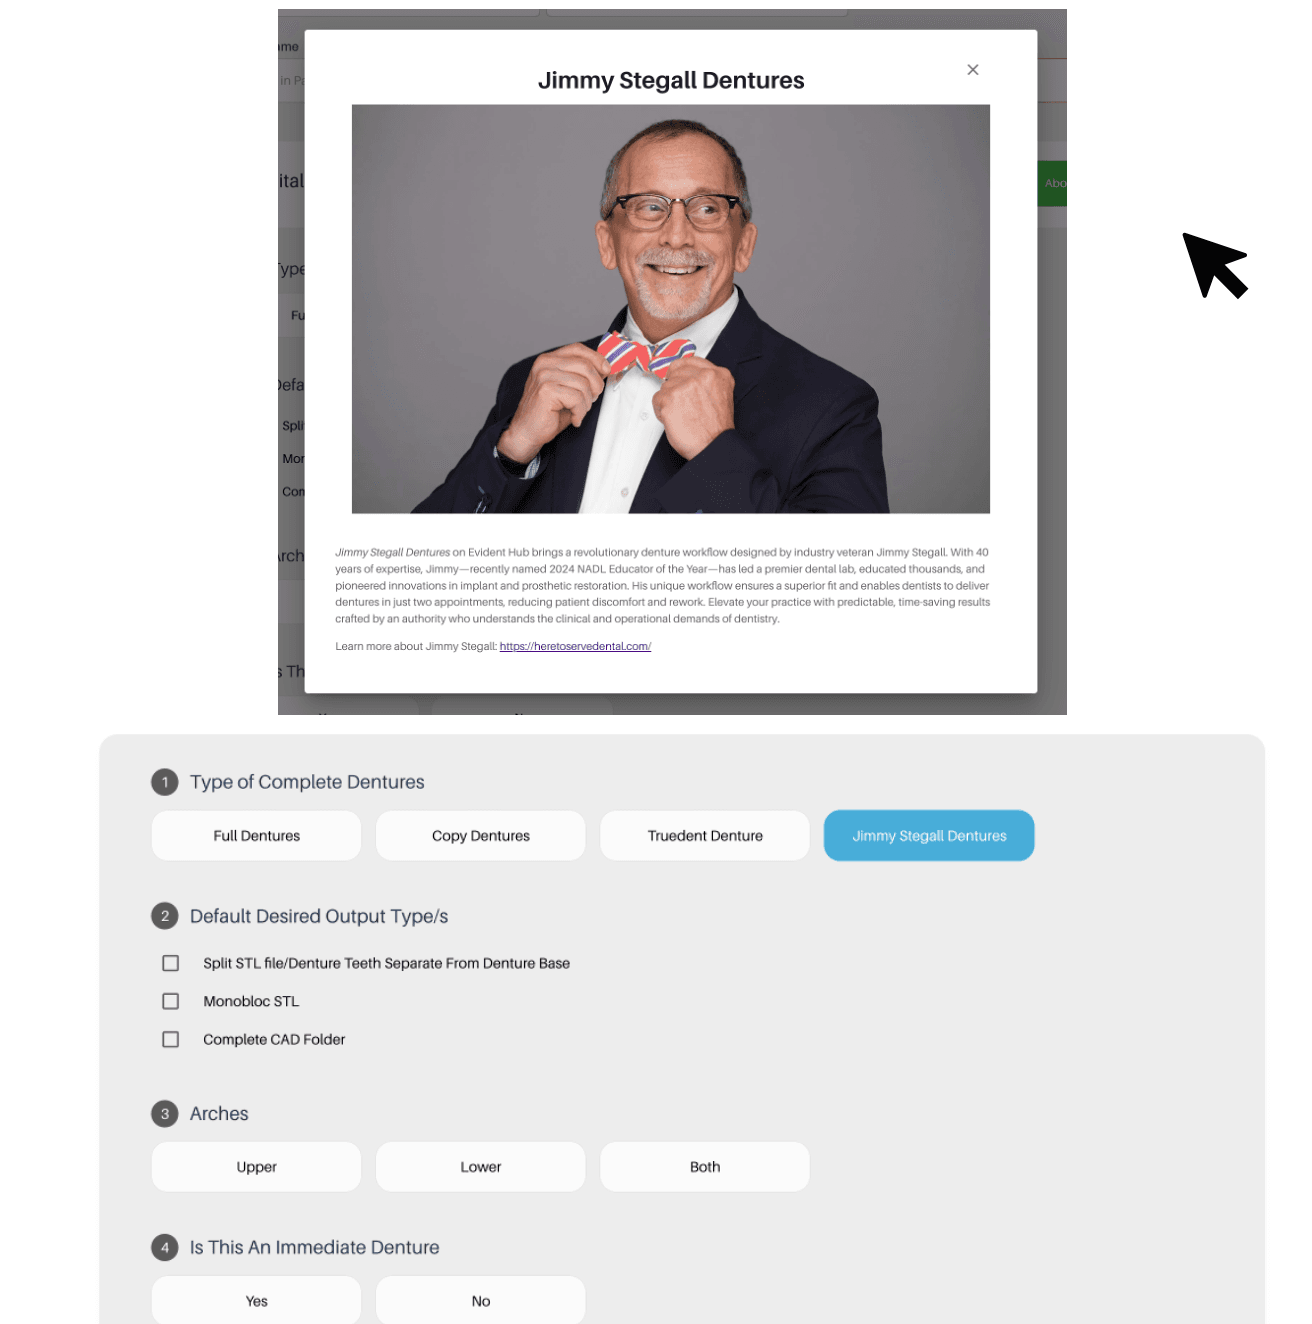
Recently named the 2024 NADL Educator of the Year, Jimmy Stegall is an industry titan with over 40 years of expertise. He has led a premier dental lab, educated thousands, and pioneered innovations in implant and prosthetic restoration.
Why Choose This Workflow?
His unique workflow ensures a superior fit and enables dentists to deliver dentures in just two appointments, reducing patient discomfort and rework.
Elevate your practice with predictable, time-saving results crafted by an authority who understands the clinical and operational demands of dentistry.
Step One: Gather Patient Information
1.1 Capture Digital Impressions:
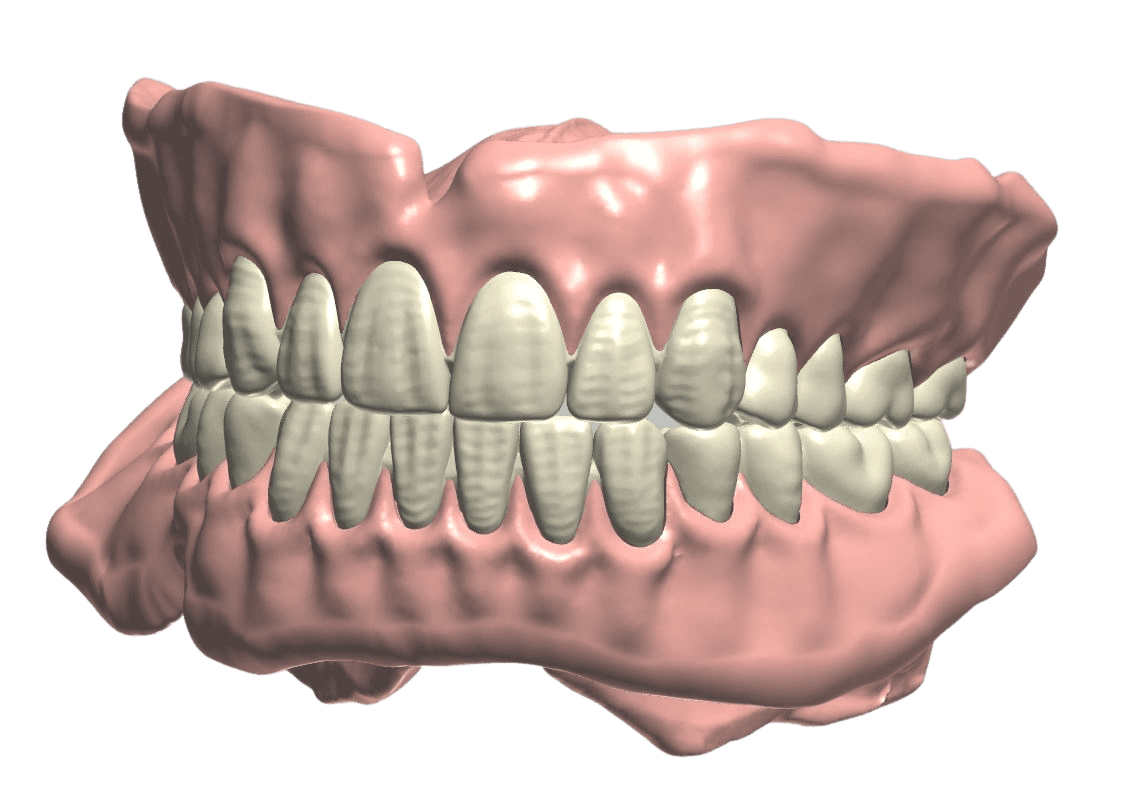
Use your intraoral scanner to capture a digital impression and create a 3D digital model of your patient’s oral anatomy.
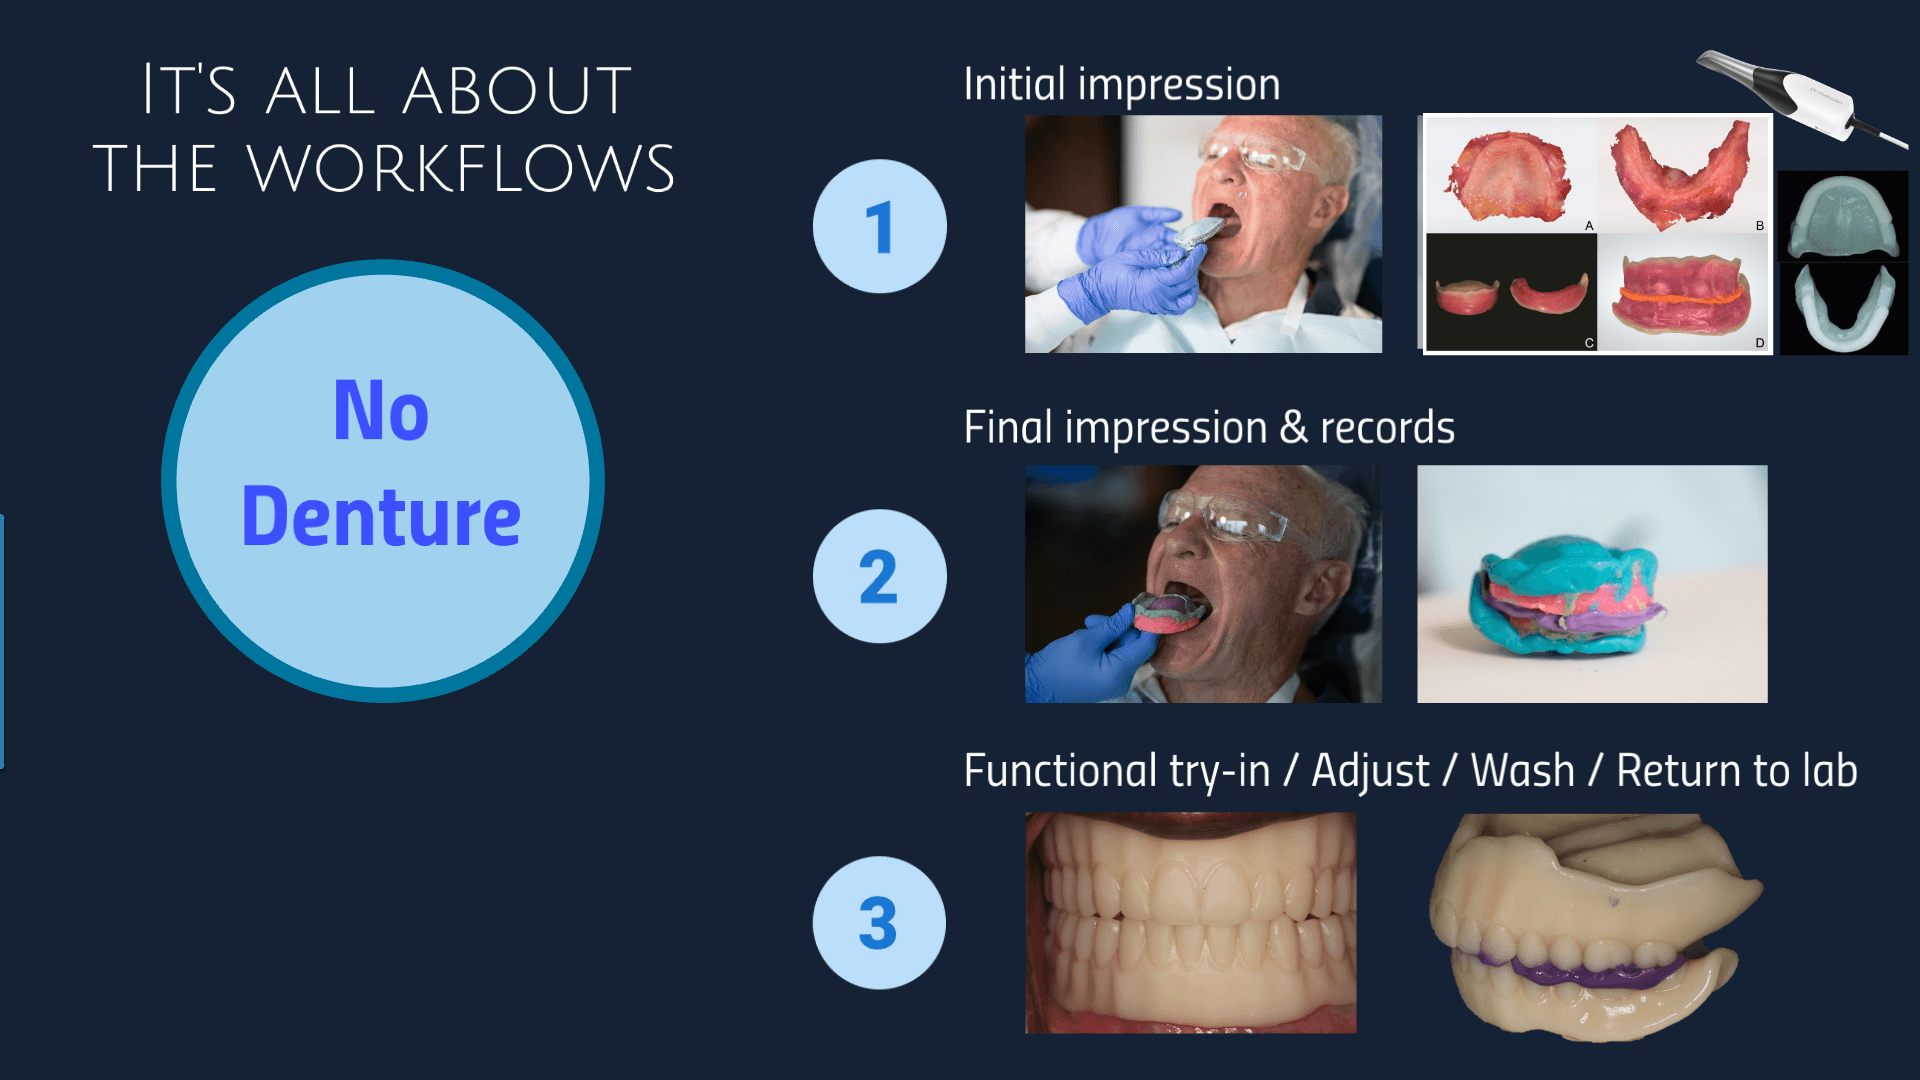
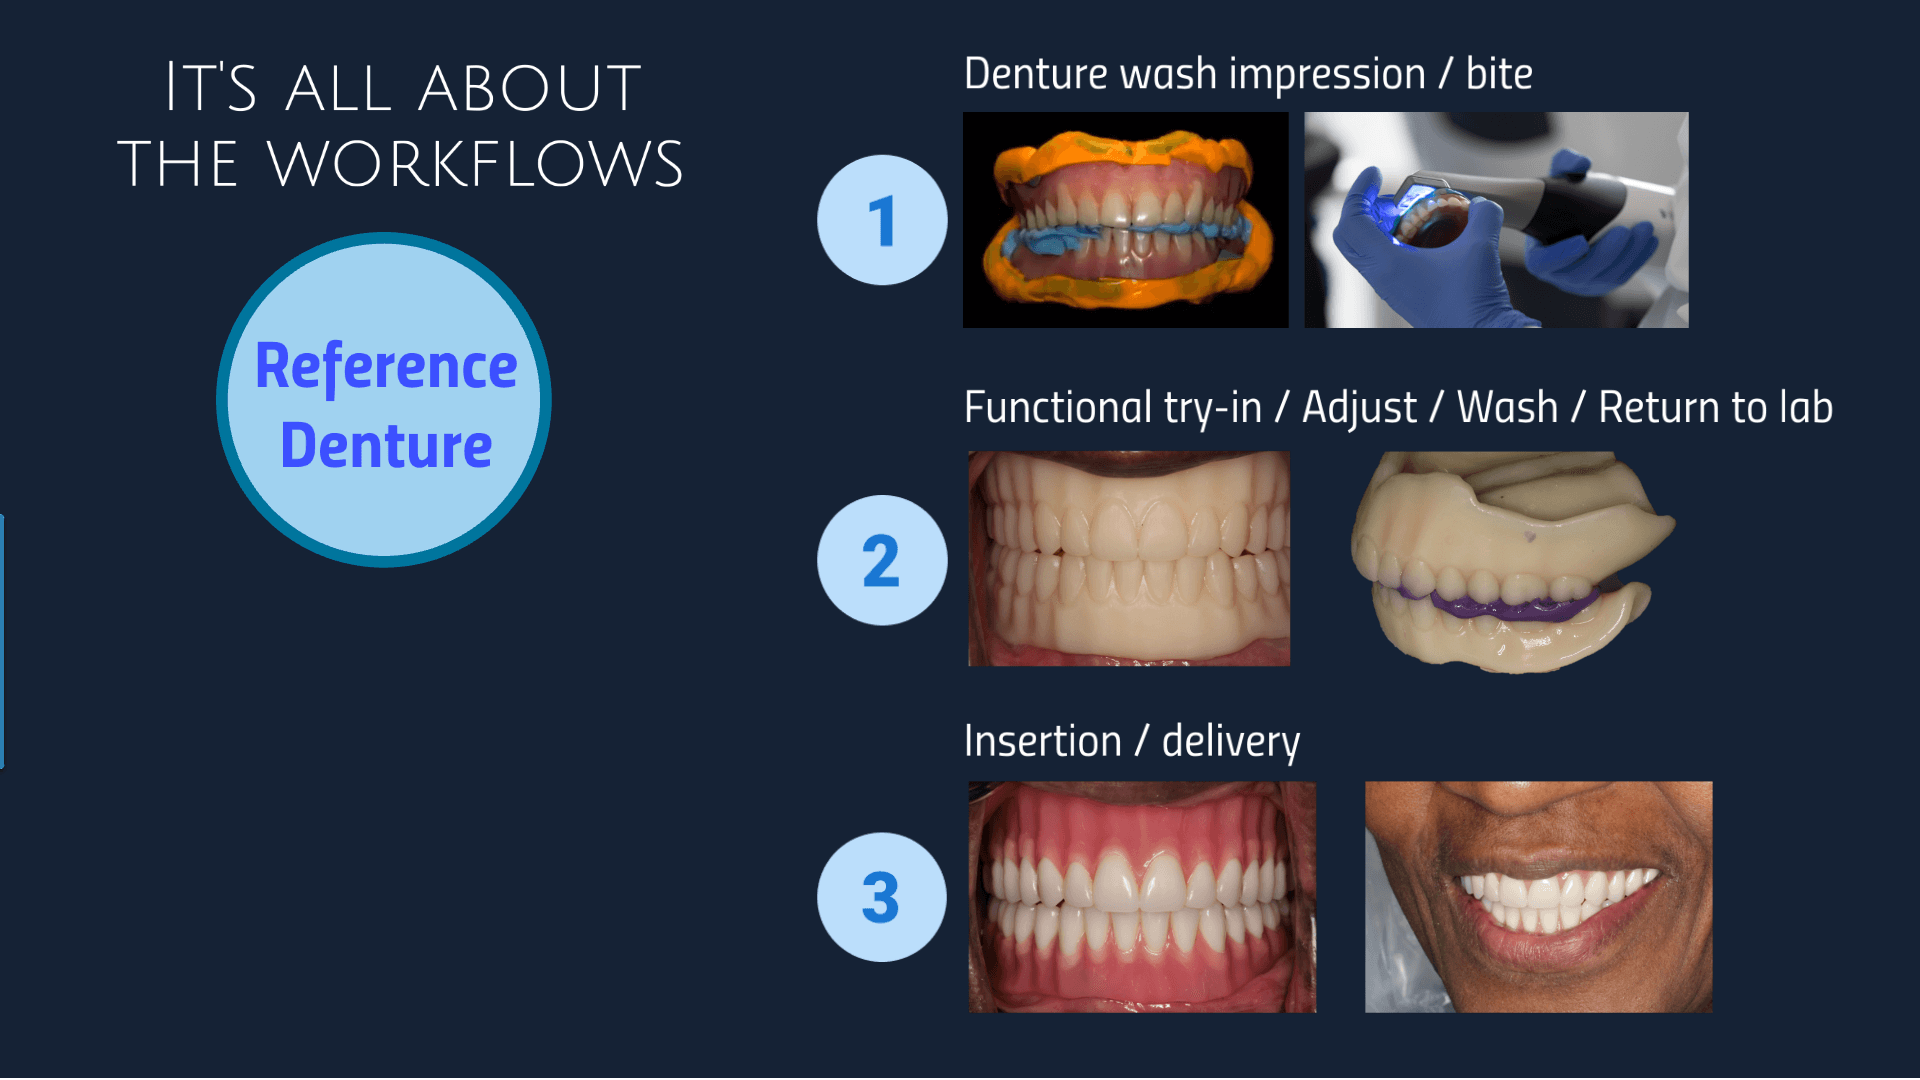
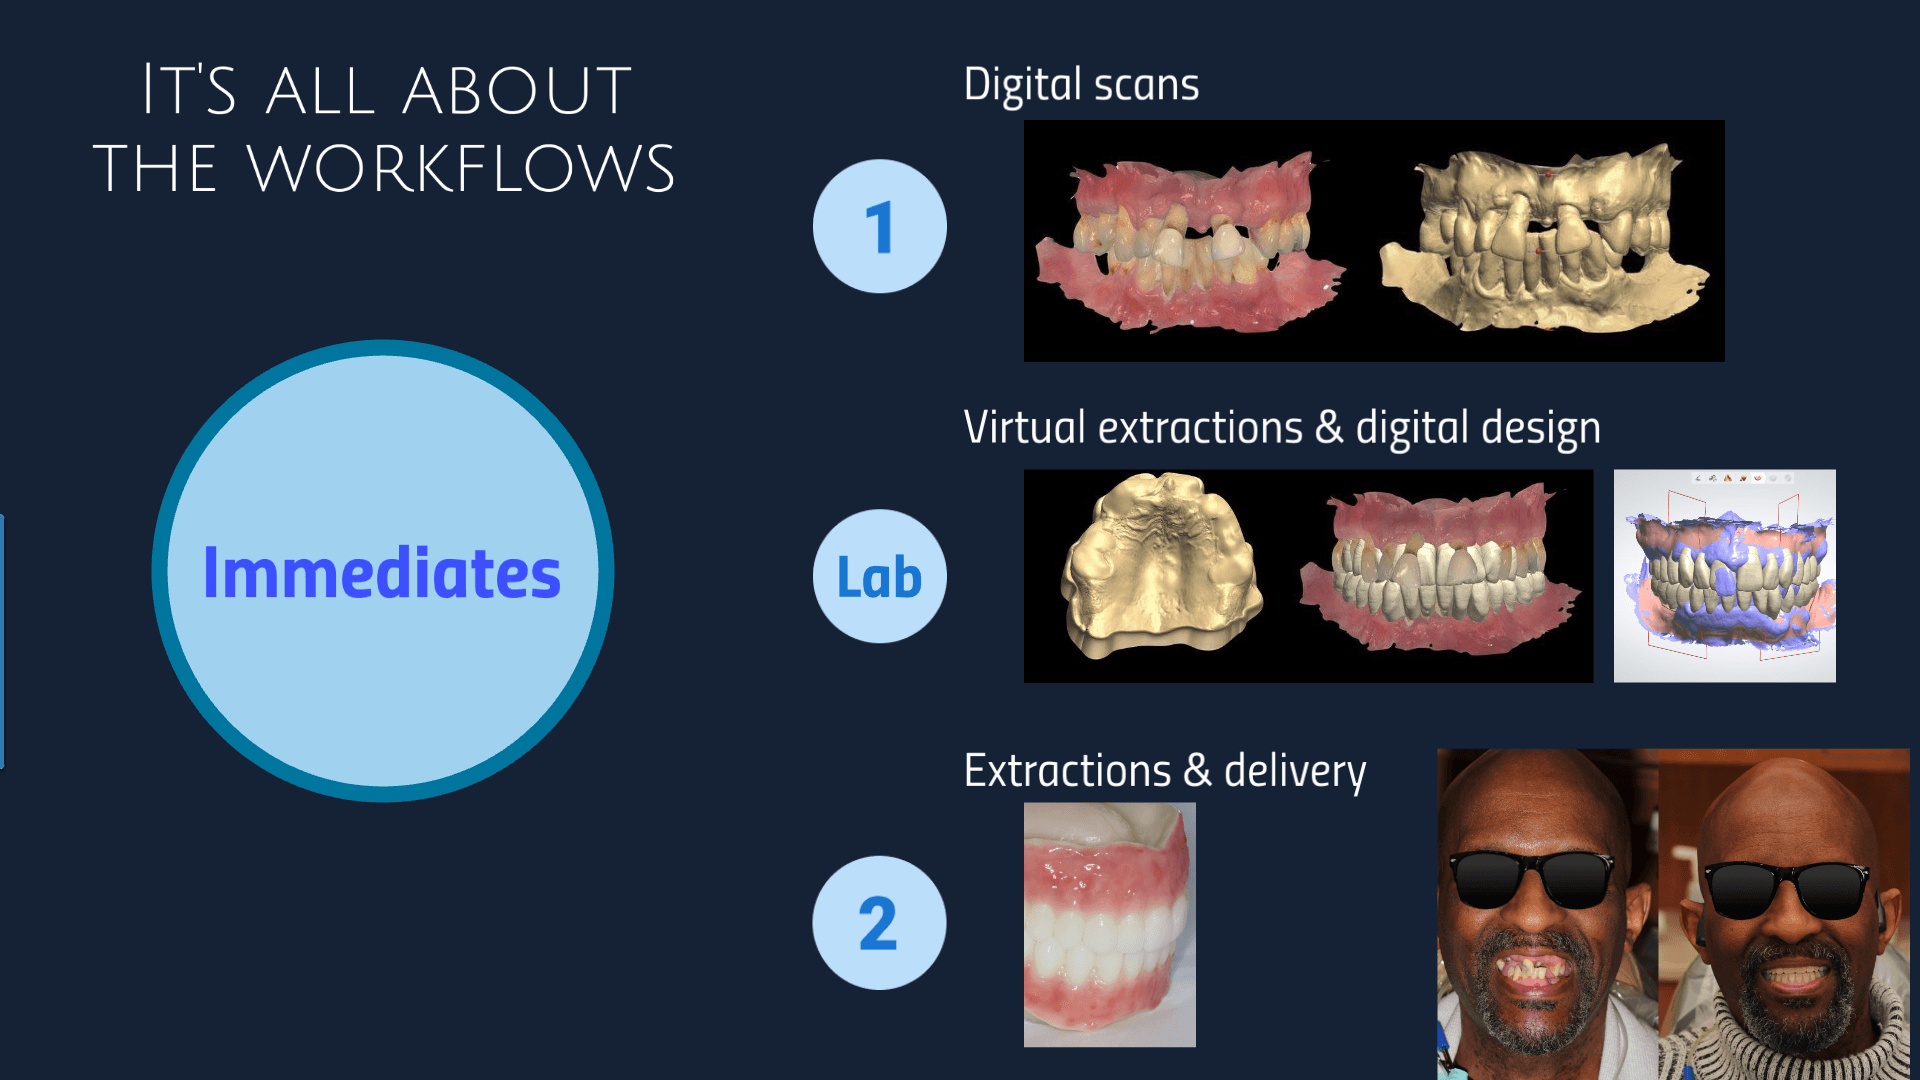
Jimmy Instructs dentists to use one of three workflows, depending on the case:
Three Scans Are Typically Required:
- Upper: A complete scan of the upper jaw where the denture will rest.
- Lower: A complete Scan of the lower jaw where the denture will rest.
- Bite Registration: Capture the patient’s bite relationship to ensure occlusion as per Jimmy’s preferences.
- Ensure all the relevant anatomy is captured in the scans (undercuts, bony prominences…)
1.2: Compile Your Patient's Treatment Plan Information
After completing the intraoral scan, you will need to gather and organize the following essential details for the treatment plan:
- Collect Patient Demographic
- Patient Name
- Contact Information
- Date of Birth
- Document Chief Complaint
- Understand the patient's primary reason for seeking dentures
- (e.g., difficulty chewing, ill-fitting the existing dentures dissatisfaction with appearance).
- Summarize Diagnostic Findings
- Document any relevant findings from the intraoral scan
- (e.g., ridge resorption, bony undercuts).
- Record Treatment Goals
- Document the patient's expectations for treatment:
- Aesthetics (e.g., tooth shape, size, color)
- Restored function (e.g., chewing ability, speech)
- Increased confidence
- Discuss Long-Term Goals
- Ensure the denture treatment aligns with the patient's overall oral health goals.
Step Two: Case Submission
2.1: Sign in to EviSmart
Visit evidentdigital.com to sign in or create your account.
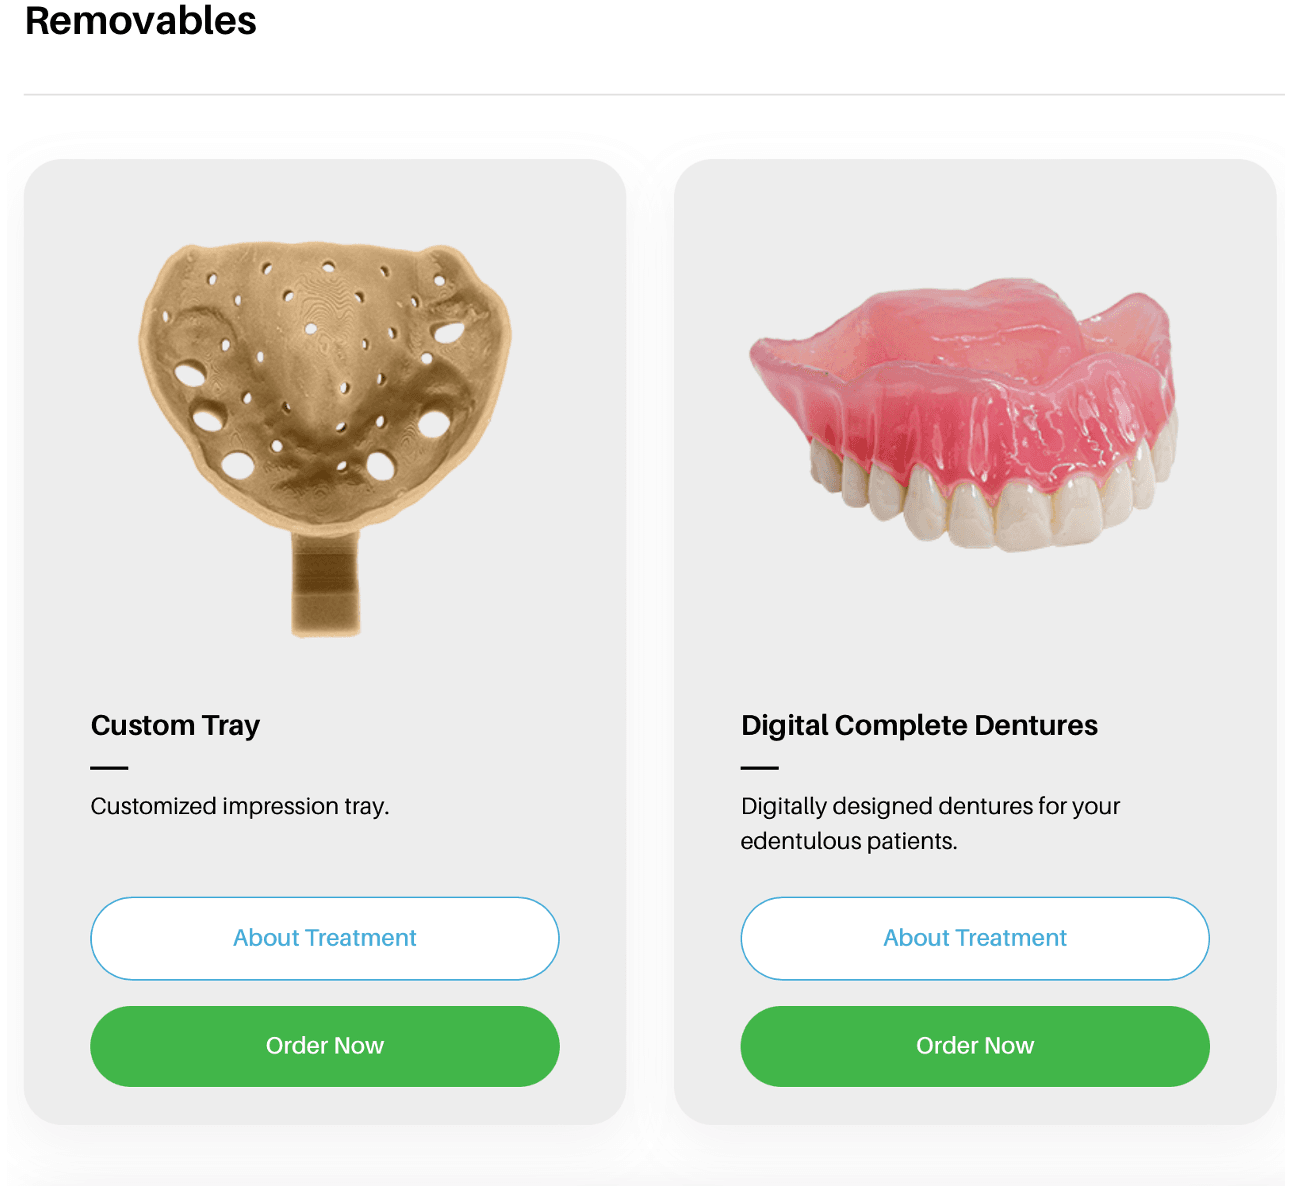
2.2: Select "Digital Complete Dentures"
Scroll to the Removables section, click the "Order Now" button under "Digital Complete Dentures".
2.3: Upload Case Information
Select Jimmy Stegall Dentures and fill the complete Rx form.
This guided ordering form ensures that the vision of both the patient and the doctor is precisely communicated to our design team. You can choose to rush this case to get your designs back as soon as possible (2 - 5 hours).
Once you've filled in your patient and practice information, follow these steps to complete the form:
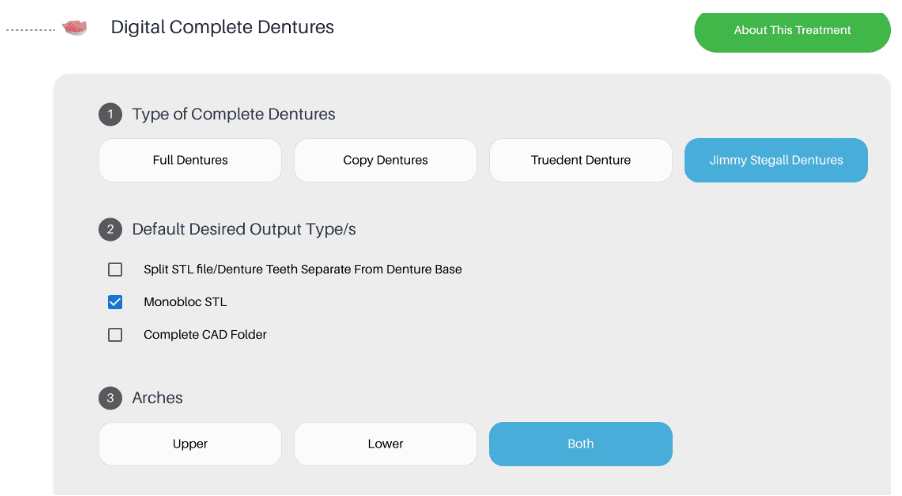
- Type of Complete Dentures
- Select Jimmy Stegall Dentures
- Select Desired Output
- Choose your preferred file format(s)
- Split STL file – Provides separate files for the denture base and teeth
- Monobloc STL - Provides a single file for the entire denture
- Complete CAD Folder - Includes all the design files related to the denture
- Indicate The Required Denture Arches
- Select “Upper”, “Lower", or “Both”
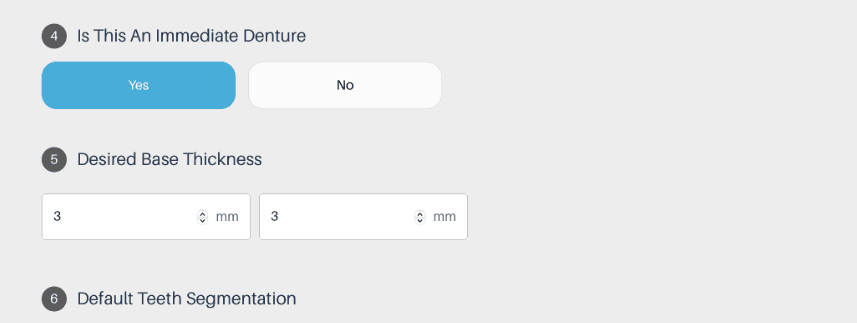
4. Is This An Immediate Denture?
- Yes (Denture will be placed immediately after tooth extraction)
- No (Denture will be placed after the extraction sites have healed)
5. Select Desired Base Thickness
- The Default base thickness for Jimmy's designs are:
- Upper: 2.5mm
- Lower: 3mm
- If you prefer a different thickness, please specify here in millimeters (mm)
6. *Default Teeth Segmentation
- By default, the tooth segmentation of Jimmy's denture design is:
- 2 posterior blocks and 1 anterior block
7. Desired Overjet & Overbite
- Upper Denture: Specify the desired overjet in millimeters (mm)
- Lower Denture: Specify the desired overbite in millimeters(mm)
- Idealized Overjet and Overbite: Check this box if you want the overjet and overbite to be adjusted to ideal values based on the patient's anatomy and occlusion
8. Gingiva Esthetics/ Festooning
- By default, the design will follow Jimmy's preferred gingival anatomy.
- If you prefer a different aesthetic please select from one of these 3 options:
- Delicate: For a subtle, less pronounced gum line.
- Natural: For a realistic gum line that mimics natural gums.
- Intense: For a more prominent, defined gum line.
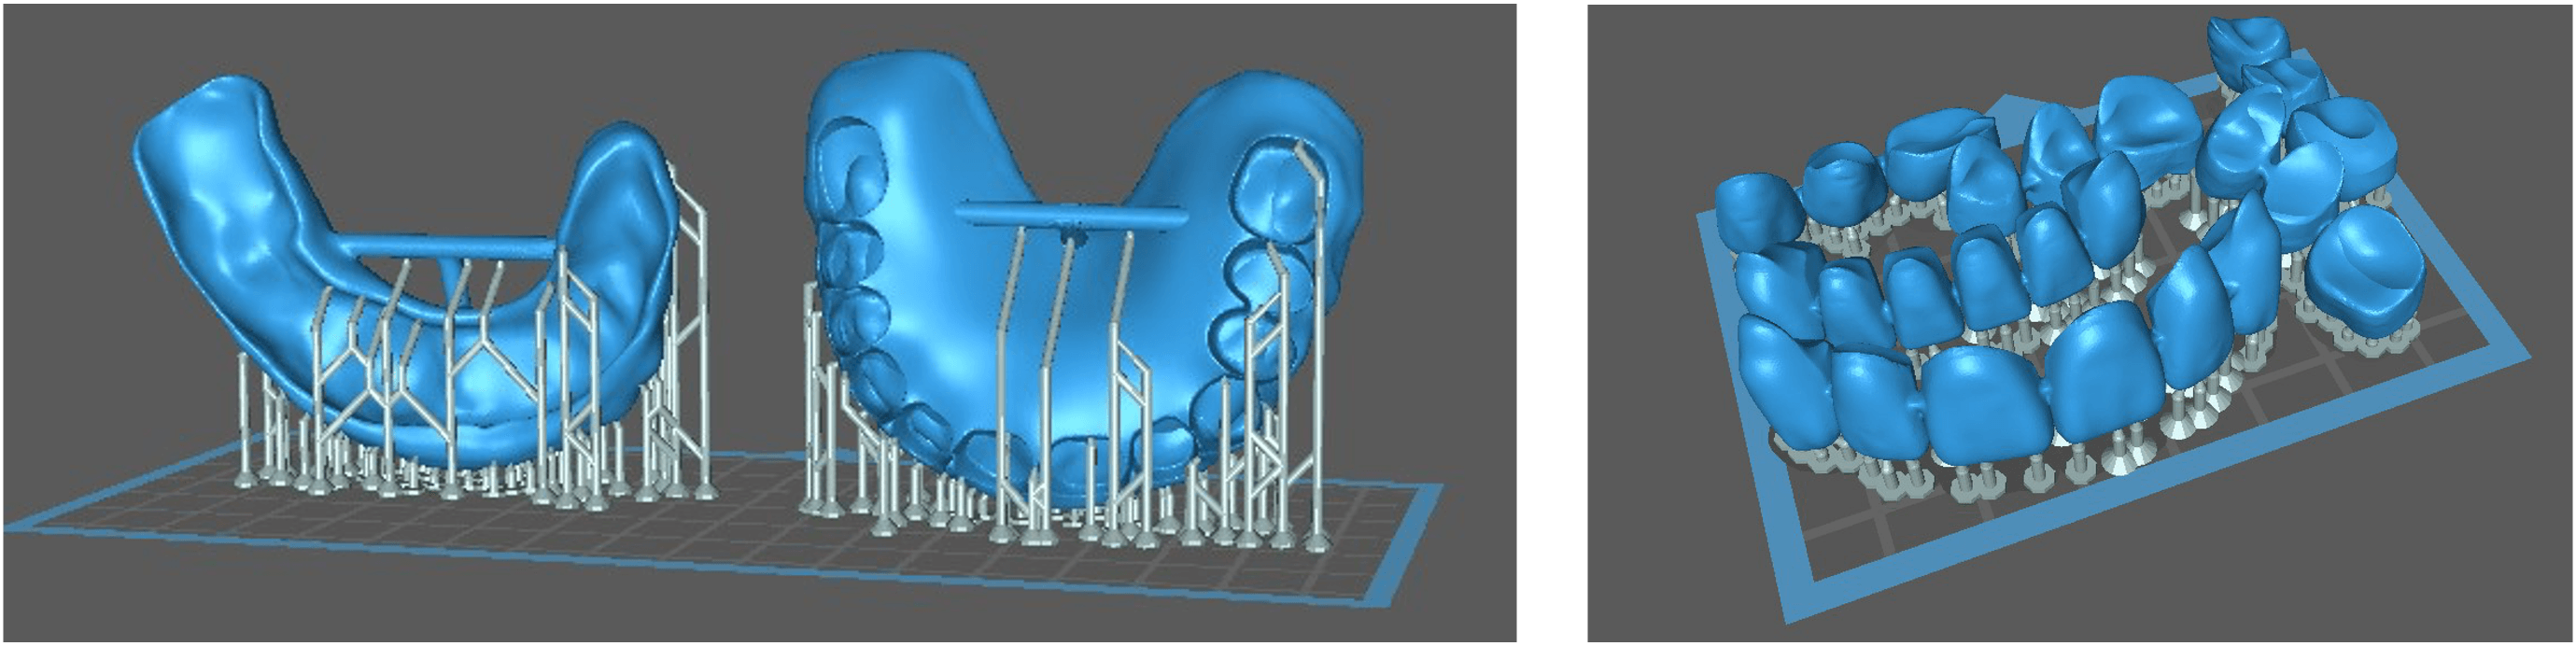
9. Support Bars for Printing
- Indicate whether support bars are needed for 3D printing:
- Yes: If you require support structures for overhangs during printing.
- No: If no support structures are necessary.

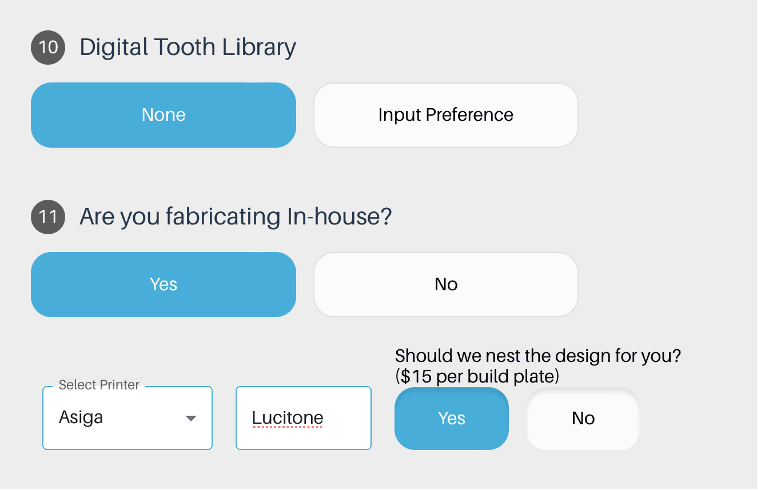
10. Digital Tooth Library
- Specify your preference for the artificial teeth:
- None: Your designers will follow Jimmy Stegall's default preferences Digital HC Genios or Digital HC Portrait.
- Input Preferences: : If you have a specific brand, type, or characteristic preference for the teeth, please specify here
11. Are You Fabricating In-House?
- If you are printing your design in-house, you can customize your fabrication preferences to streamline the process.
- Follow these steps to ensure your design is ready for printing:
- Indicate In-House Fabrication: Select 'Yes' or 'No' to indicate if you are fabricating the design in-house.
- Choose Your Printer: If you selected 'Yes' for in-house fabrication, choose your printer from the dropdown menu.
- Specify Resin Type: Enter the type of resin you will 3D print with.
- Select Pre-Nested Files: To make the fabrication process even easier.
- These steps ensure that your design is ready to print with proper supports, so all you need to do is drag, drop, and print
- There is an additional fee per build plate for pre-nested files.
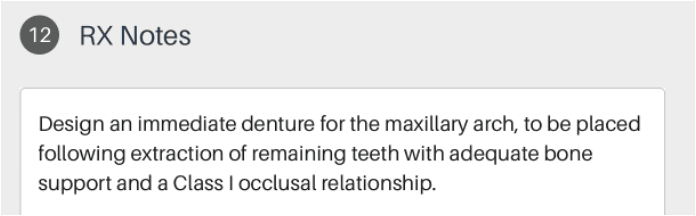
12. RX Notes
- To ensure the desired outcome for your patient's digital dentures, please provide clear and concise instructions for your design team.
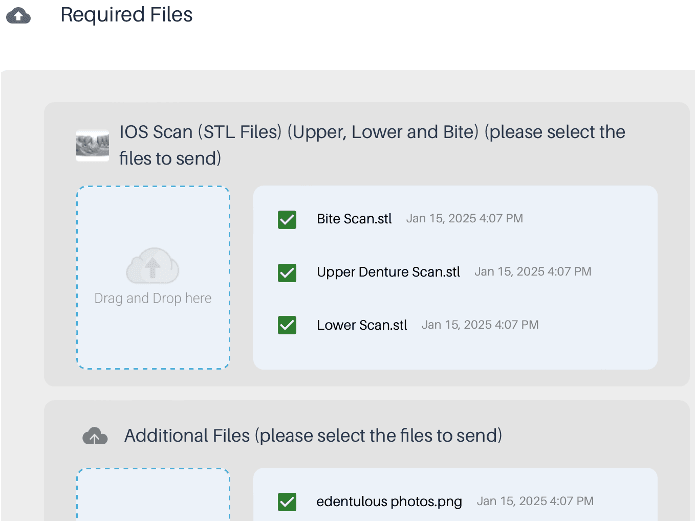
13. Upload Required Files
- Intraoral Scans (STL or PLY files):
- Upper Arch Scan
- Lower Arch Scan
- Bite Rim/Registration Scan
- Additional Files (Optional, but highly recommended):
- High-resolution intraoral photographs of:
- The patient's edentulous ridges
- Surrounding tissues
- Any remaining teeth to optimize the denture fit.
14. Review and Submit
- Ensure all information is accurately filled out and all required files are uploaded. Click 'Proceed' to submit the form.
2.4: Download Your Scan Files
Once complete, you will receive the following files:
- HTML preview viewer for STL design files, including appended scan data
- 3D printable file (nested)
Step Three: Fabricate Your Jimmy Stegall Design
For detailed process and workflow instructions specific to your 3D printer model and resin,
please contact your 3D printer manufacturer’s support team.
- 3D-Print your design
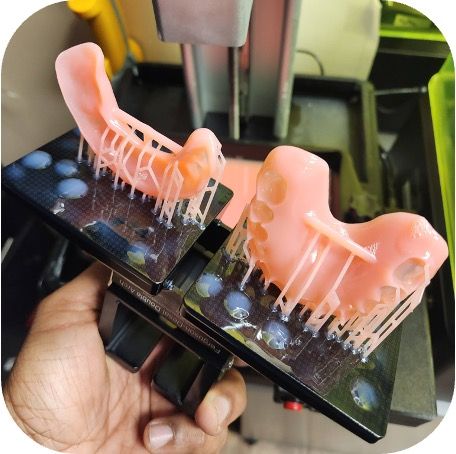
2. Wash
- Use 99% IPA to remove any excess resin
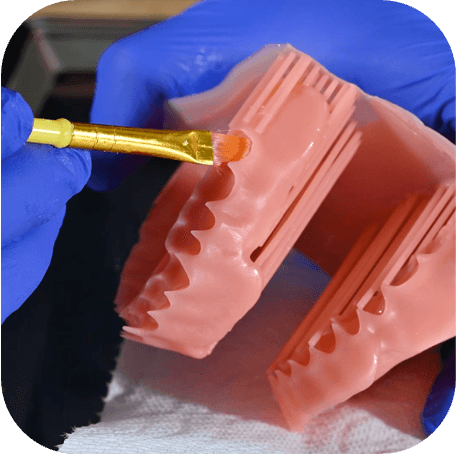
3. Cure
- Cure the case to finalize its durability.
Congratulations!
Your Jimmy Stegall Denture Is Now Ready!
If you have any questions about the process, feel free to visit www.evidentdigital.com to connect with our support team.
To further streamline your workflow, we can help by coordinating fabrication. Here’s how we can assist:
- Invite your existing lab:
- You can invite your preferred lab by choosing the option in the top right corner of the EviSmart dashboard. We will help coordinate the fabrication process with them.
- Ask Evident for a preferred lab partner:
- Alternatively, your account manager can suggest one of our preferred lab partner for a seamless experience.